WITH MYCABLE
IT’S A
NO-BRAINER
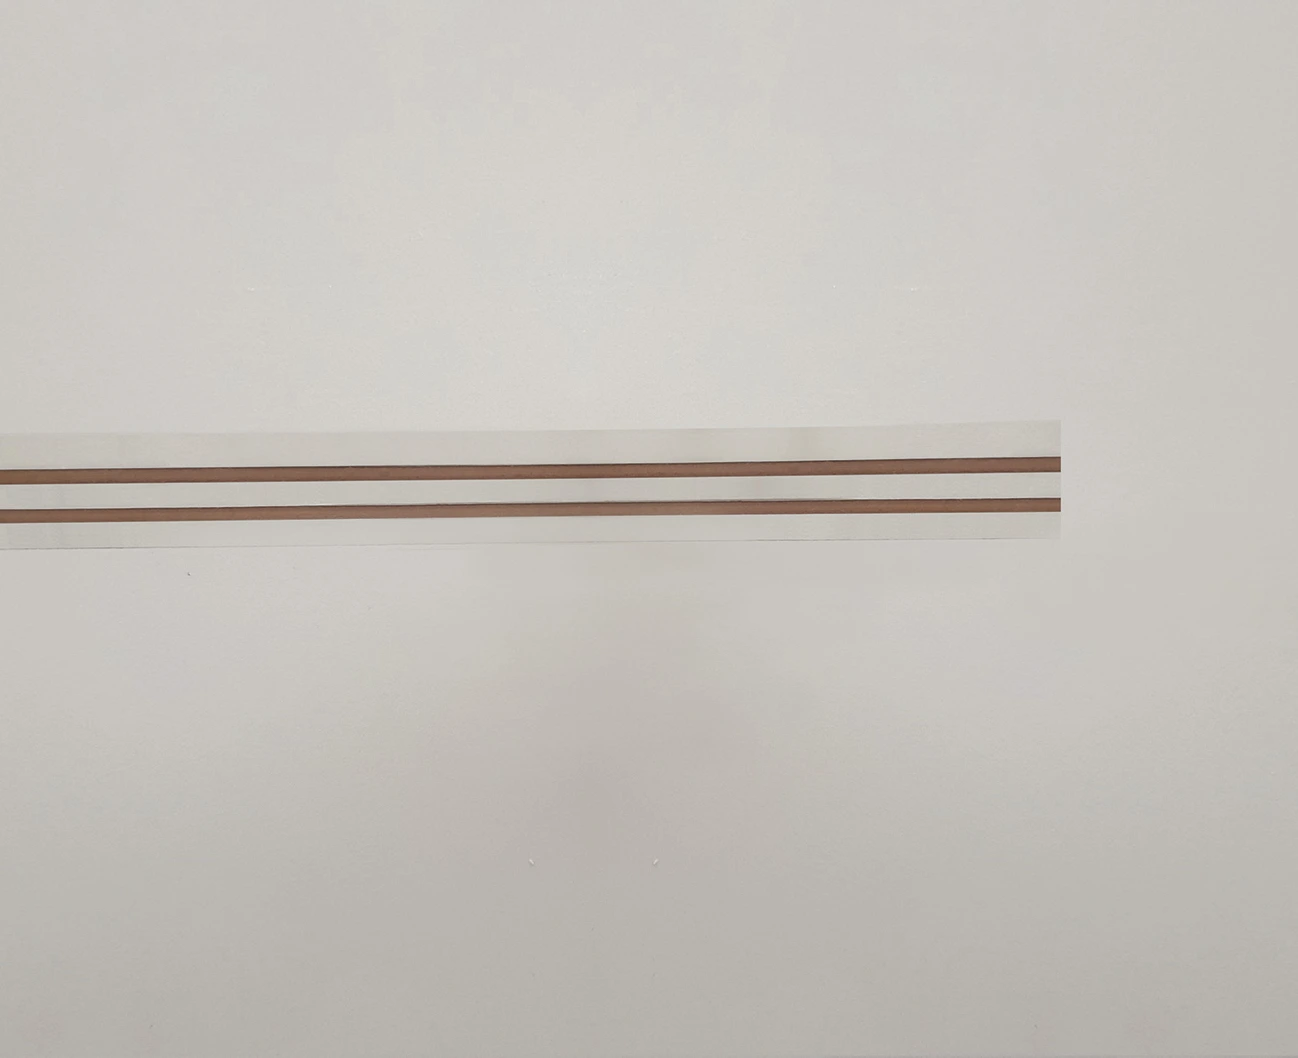
Installing MyCable is much easier than ever before. Nothing hard nor invasive masonry work, no fixing of ducts on the walls, no worries or long construction times.
To create your new system in no time, just position the tape following the path you imagined, for an optimal, long-lasting and aesthetically perfect result.
To create your new system in no time it will be enough to place the cable in the optimal points following your project, for an optimal, lasting and aesthetically perfect result.

1. PASTE
With MyCable the most important thing is the design phase, because your system will take shape exactly as you have designed it. Choose where to install it, which devices to connect and where to fix them, but don’t worry: if you change your mind or want to change something later, you can do it in a practical and fast way.
2. CONNECT
Once you have decided how and where, you can take care of laying MyCable, making it adhere to furniture and mirrors or adhering to walls, ceilings and other surfaces along the pre-established route.
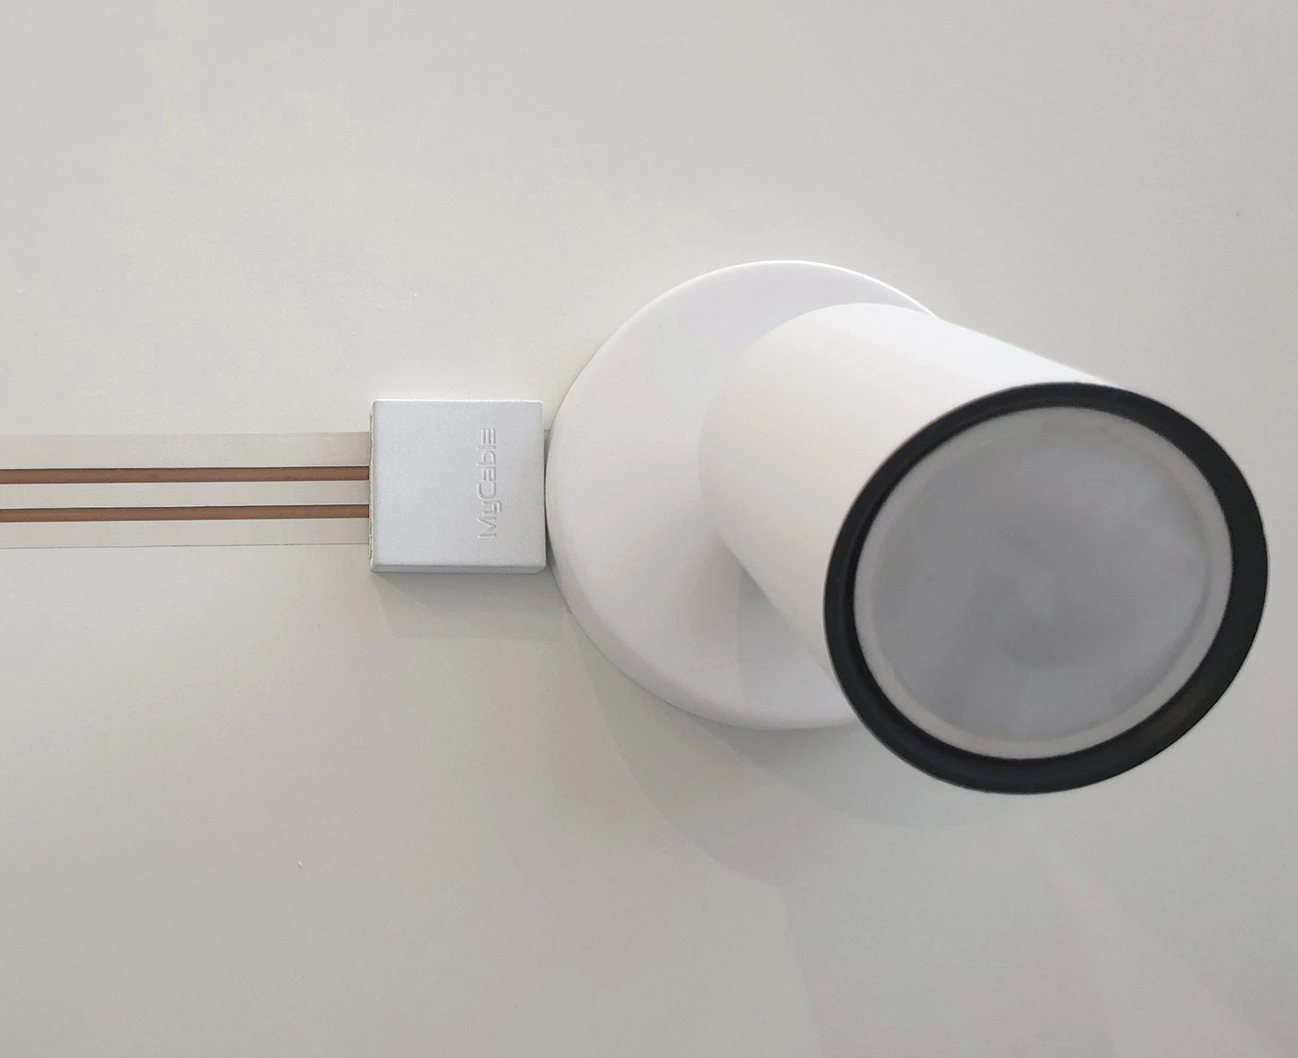
Then connect MyCable to outlets, lights and electronic devices.


3. COVER UP
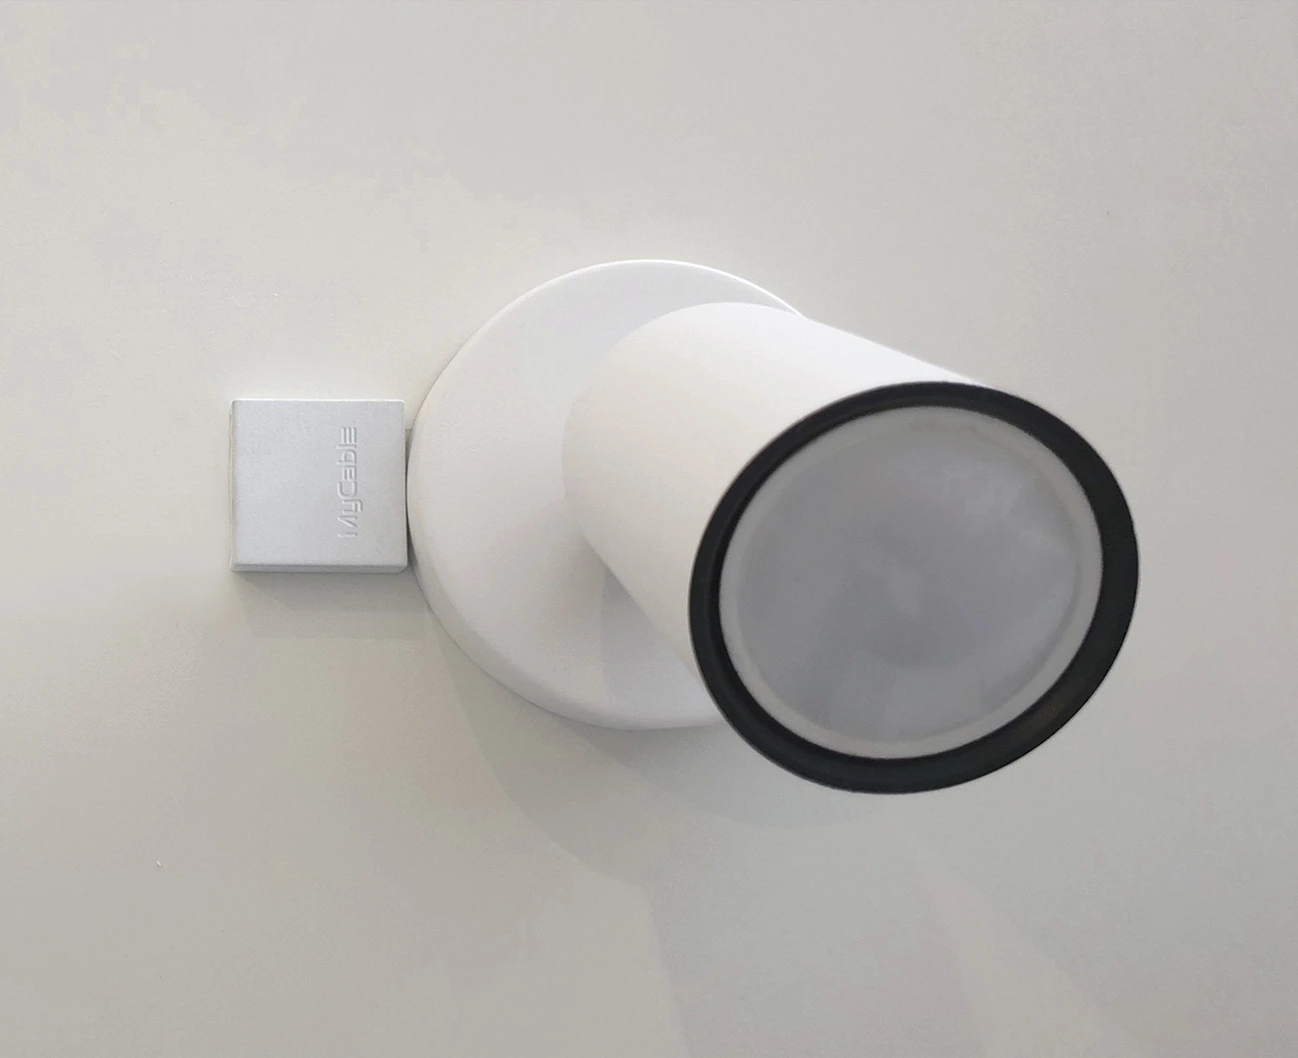
When each element is in place and connected, all you have to do is make the cable disappear. How? With a coat of paint or varnish, behind wallpaper, skirting boards or other furnishings. It’s as simple as that!